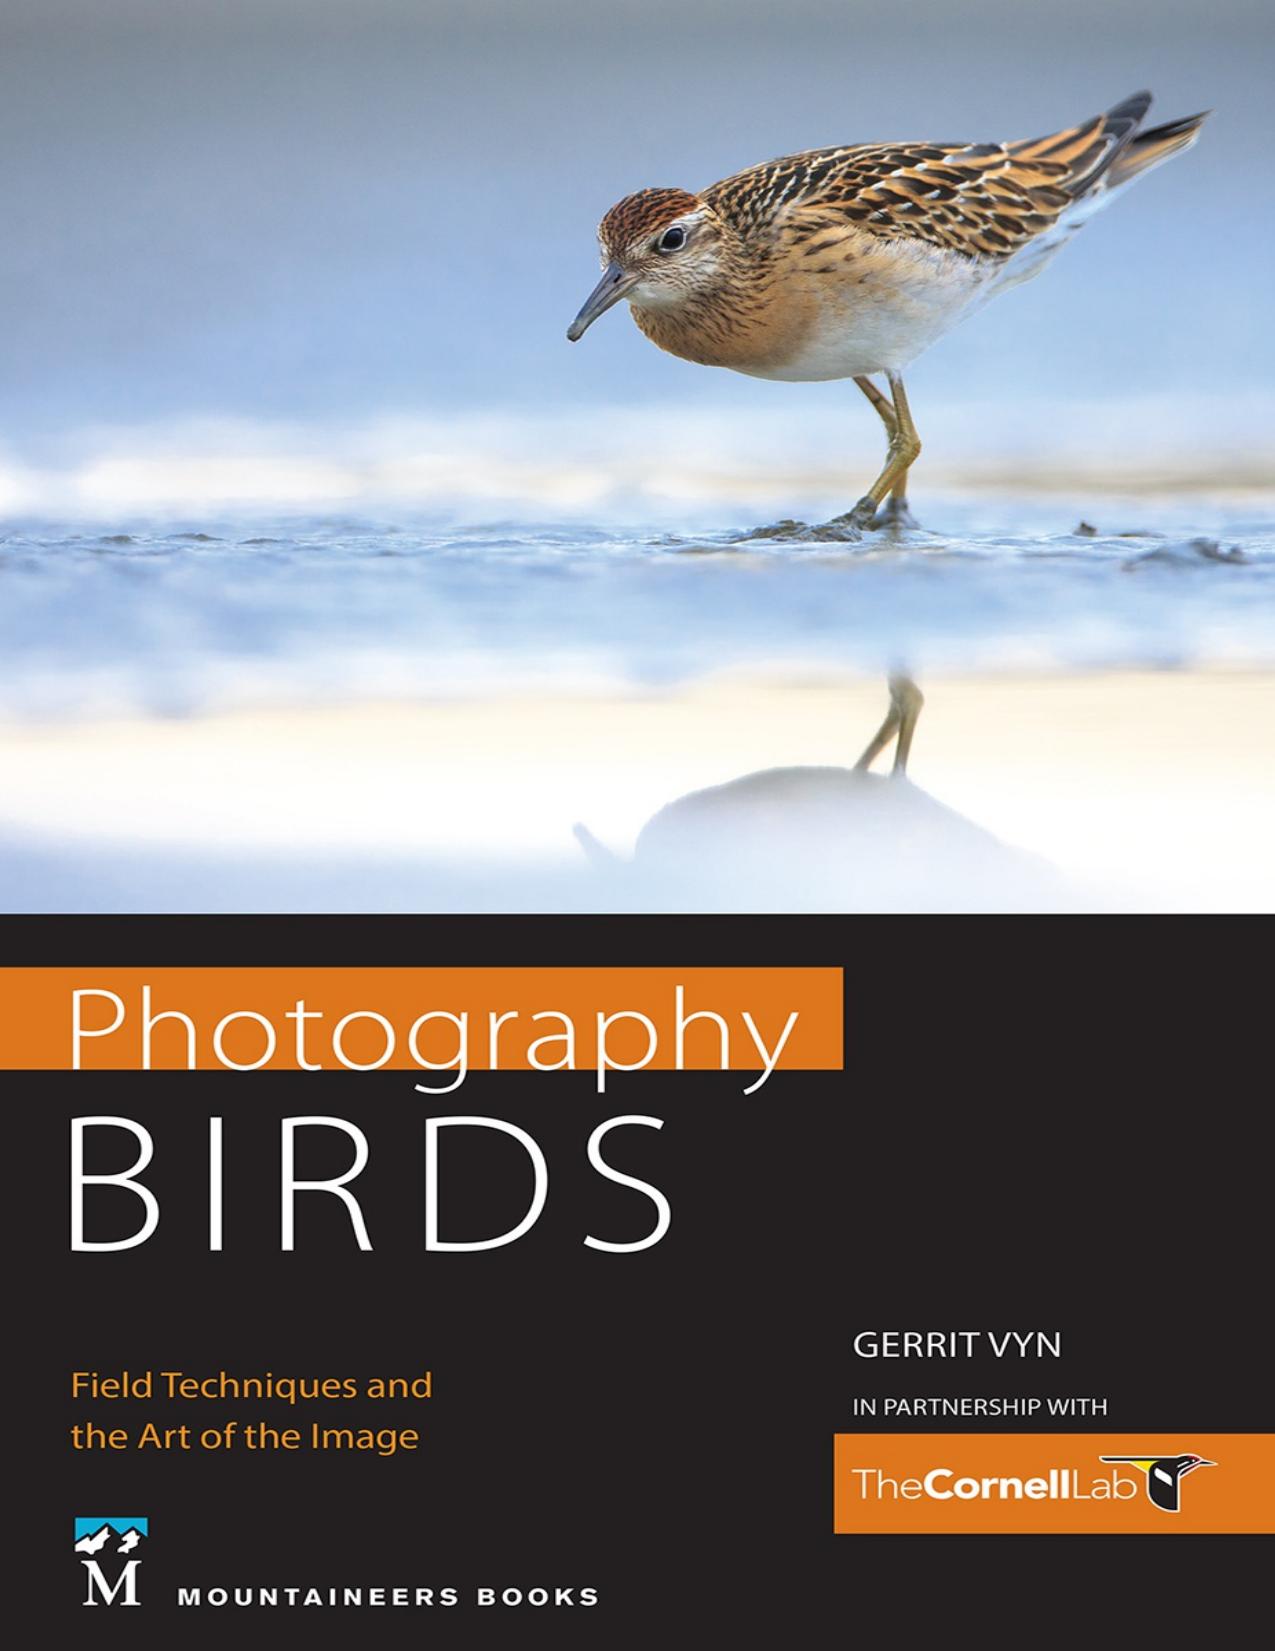
Photography Birds by Gerrit Vyn

Author:Gerrit Vyn
Language: eng
Format: epub, pdf
ISBN: 9781680511000
Publisher: Mountaineers Books
Published: 2020-04-14T16:00:00+00:00
This white-morph Reddish Egret in Florida was running wildly around feeding under unchanging front light. By determining the correct exposure and setting it manually, my exposure and shutter speed were always where I wanted them, no matter how close or far the bird was from me or how the background changed. 600mm with 1.4x teleconverter, 1/3200 at f/8, ISO 1000
On most cameras, changing exposure with aperture, shutter speed, and ISO is done with a dial on the camera body that rotates in one-third-stop increments as you turn it. So, turning the appropriate dial one click for ISO will change the ISO by one-third stop. Similarly, turning the appropriate dial one click for aperture will change your aperture one-third stop, and turning it three clicks will change it one full stop. Knowing this, it is easy to make quick adjustments on the fly without changing your exposure. Just count your “clicks.” For example, let’s say you are shooting at ISO 400 with an aperture of f/11 and a shutter speed of 1/500 second. When you look at the histogram, you like your exposure, but there is a bit of motion blur—you need more shutter speed to freeze the action. You can very quickly increase shutter speed by moving the dial three clicks, bumping up your shutter speed by one full stop, to 1/1000 second. But now you’ve reduced the amount of light, thus changing the exposure. To return to the exposure you liked, you need to change one of the other two variables (ISO or aperture) by the same number of clicks in the opposite direction. So in this example, you need to add a full stop of light back by moving the ISO dial three clicks from ISO 400 to 800 (because the higher the number, the more sensitive to light the sensor) or moving the aperture dial three clicks from f/11 to f/8 to increase the amount of light passing through and hitting the sensor.
Aperture Priority (Automatic)
In Aperture Priority mode, the photographer selects the aperture and the camera automatically assigns a shutter speed based on the meter reading. To adjust the exposure in Aperture Priority mode, you use the Exposure Compensation dial to over- or underexpose the image. Aperture Priority is often used when you are most concerned about the depth of field (aperture) in an image and the shutter speed is not important.
Once you’ve set the mode to Aperture Priority, use the dial to select the aperture, and the camera sets the shutter speed. If the exposure needs to be adjusted from there, which you determine by judging the scene and subject yourself or taking a test frame and looking at the histogram, use the Exposure Compensation control to increase or decrease exposure. Exposure compensation is usually controlled by holding a small button on top of your camera marked with a plus-and-minus symbol and simultaneously turning one of the camera’s other dials. Because you are in Aperture Priority, when you adjust the exposure with Exposure Compensation, the shutter
Download
This site does not store any files on its server. We only index and link to content provided by other sites. Please contact the content providers to delete copyright contents if any and email us, we'll remove relevant links or contents immediately.
| Gardens | Landscapes |
| Plants & Animals | Underwater |
Shoot Sexy by Ryan Armbrust(17133)
Portrait Mastery in Black & White: Learn the Signature Style of a Legendary Photographer by Tim Kelly(16478)
Adobe Camera Raw For Digital Photographers Only by Rob Sheppard(16380)
Photographically Speaking: A Deeper Look at Creating Stronger Images (Eva Spring's Library) by David duChemin(16151)
Bombshells: Glamour Girls of a Lifetime by Sullivan Steve(13100)
Art Nude Photography Explained: How to Photograph and Understand Great Art Nude Images by Simon Walden(12339)
Perfect Rhythm by Jae(4616)
Pillow Thoughts by Courtney Peppernell(3382)
The Book of Joy by Dalai Lama(3212)
Good by S. Walden(2909)
The Pixar Touch by David A. Price(2736)
Fantastic Beasts: The Crimes of Grindelwald by J. K. Rowling(2540)
A Dictionary of Sociology by Unknown(2516)
Humans of New York by Brandon Stanton(2376)
Read This If You Want to Take Great Photographs by Carroll Henry(2299)
Stacked Decks by The Rotenberg Collection(2266)
On Photography by Susan Sontag(2126)
Photographic Guide to the Birds of Indonesia by Strange Morten;(2086)
Insomniac City by Bill Hayes(2080)
