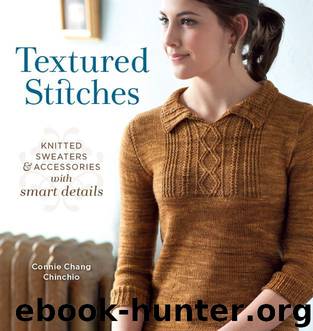
Textured Stitches: Knitted Sweaters and Accessories with Smart Details by Connie Chang Chinchio

Author:Connie Chang Chinchio [Chinchio, Connie Chang]
Language: eng
Format: epub
ISBN: 9781620331699
Publisher: Interweave
Published: 2012-12-10T23:00:00+00:00
Finishing
Back Neckband
Place 14 held right front band sts on smaller needle and join yarn with RS facing at front edge.
SET-UP ROW: (RS) Work 14 sts in established patt, M1 (selvedge st for seaming)—15 sts.
Working new selvedge st in St st, cont in patt and work 2 rows even, ending with a RS row. Maintaining patt as well as possible, work short-rows as foll:
SHORT-ROW 1: (WS) Work 10 sts in patt, wrap next st, turn work.
SHORT-ROW 2: (RS) Work in patt to end.
SHORT-ROW 3: Work in patt to end, working wrap tog with wrapped st when you come to it.
SHORT-ROW 4: Work in patt to end.
Rep Short-rows 1-4 six more times. Work even in patt until band reaches to center back neck when slightly stretched, ending with a RS row (ideally, Row 9 or 19 of chart).
Place sts on holder.
Place 14 held left front band sts on smaller needle and join yarn with RS facing at neck edge.
SET-UP ROW: (RS) M1 (selvedge st for seaming), work 14 sts in established patt, M1—15 sts.
Working new selvedge st in St st, cont in patt and work 1 WS row even. Maintaining patt as well as possible, work short-rows as foll:
SHORT-ROW 1: (RS) Work 10 sts in patt, wrap next st, turn work.
SHORT-ROW 2: (WS) Work in patt to end.
SHORT-ROW 3: Work in patt to end, working wrap tog with wrapped st when you come to it.
SHORT-ROW 4: Work in patt to end.
Rep Short-rows 1-4 six more times. Work even in patt until band reaches to center back neck when slightly stretched, ending with the same RS chart row as right neckband.
With RS touching and WS facing outward, use the three-needle method to BO sts tog. With yarn threaded on a tapestry needle, sew selvedge of neckband to back neck edge.
Weave in loose ends. Block again, if desired. Sew buttons to left front band, opposite buttonholes.
Download
This site does not store any files on its server. We only index and link to content provided by other sites. Please contact the content providers to delete copyright contents if any and email us, we'll remove relevant links or contents immediately.
On Writing A Memoir of the Craft by Stephen King(4206)
The Doodle Revolution by Sunni Brown(4036)
A Simplified Life by Emily Ley(3565)
Mummy Knew by Lisa James(3164)
Marijuana Grower's Handbook by Ed Rosenthal(3114)
Paper Parties by Erin Hung(3037)
Better Homes and Gardens New Cookbook by Better Homes & Gardens(2950)
Figure Drawing for Artists by Steve Huston(2792)
Draw Your Day by Samantha Dion Baker(2703)
The Genius of Japanese Carpentry by Azby Brown(2602)
Japanese Design by Patricia J. Graham(2552)
Lions and Lace by Meagan Mckinney(2489)
Dangerous Girls by Haas Abigail(2463)
The Curated Closet by Anuschka Rees(2380)
Zero to Make by David Lang(2344)
How to Make Your Own Soap by Sally Hornsey(2334)
The Wardrobe Wakeup by Lois Joy Johnson(2230)
The Code Book by Simon Singh(2205)
The Checklist Manifesto by Atul Gawande(2199)
