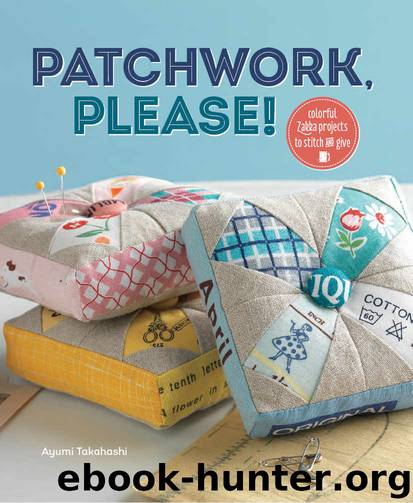
Patchwork, Please!: Colorful Zakka Projects to Stitch and Give by Ayumi Takahashi
Author:Ayumi Takahashi [Takahashi, Ayumi]
Language: eng
Format: epub
ISBN: 9781620333938
Publisher: Interweave
Published: 2013-08-25T22:00:00+00:00
1 Sew three cotton print rectangles together to create one patchwork panel; press open seams. Place this panel onto flannel backing, with the wrong sides together, and sew close to both sides of each patchwork seam, using thread that matches the cotton prints.
2 Fold the panel in half and pin apple template {fig. 1} to the panel, aligning panel sections as shown; cut out. Mark the points with a tailor tack or tailor’s chalk, as indicated by the dot on the template.
fig. 1
3 Make a piece of 1" × 6" (2.5 × 15 cm) bias binding tape by cutting on the diagonal of the solid fabric (use a straight ruler and a rotary cutter to make this uniform). This will be a binding tape for the top edge of the bib. Place one short edge of the tape, on the point marked on the left, onto the right side of the apple-shaped panel. From that point, sew the binding around the apple until the other short edge of the binding tape reaches the other mark. Since you are sewing curvy lines, it’s helpful to use many pins. It is easier to work one side at a time: pin only the left half of the bib first, sew to the center point, and backstitch. Next, pin the binding onto the right half of the bib and repeat as on the left. The short edge of the binding should arrive near the point you had marked (if needed, trim the end to make sure that the short edge ends at the mark). Attach the binding tape to the back by handstitching to finish.
4 Make a piece of 1" × 58" (2.5 × 147.5 cm) bias binding tape. Fold this tape in half widthwise to determine the midpoint. Match the midpoint on the binding tape to the center of the bib’s bottom edge. Pin this binding to just one half of the bib and sew from the center point to the point where ¼" (6 mm) of the binding tape overlaps the previously attached binding tape on the top. Repeat on the other half of the bib. Fold the binding tape to the back and handstitch in place.
5 Make straps from the binding tape ends that hang on the top. Fold two long edges to the middle; press, fold lengthwise again, and sew the folds together close to the edge. Start sewing from the raw short edge and finish sewing when you reach the main body of the bib; backstitch. Repeat for the other binding tape.
6 Measure straps and cut them to 12½" (31.5 cm) long each.
7 Fold one of the print pieces for the strap ends in half lengthwise; press. Open and fold two outer edges toward the folded line in the middle lengthwise. Fold ½" (1.3 cm) from each short edge toward the underside, and fold the piece in half widthwise. Press. Sandwich the strap end into the piece so that the end is completely covered by the folded short edge. Handstitch all open edges to complete attaching.
Download
This site does not store any files on its server. We only index and link to content provided by other sites. Please contact the content providers to delete copyright contents if any and email us, we'll remove relevant links or contents immediately.
On Writing A Memoir of the Craft by Stephen King(5020)
The Doodle Revolution by Sunni Brown(4851)
A Simplified Life by Emily Ley(4238)
Mummy Knew by Lisa James(3745)
Marijuana Grower's Handbook by Ed Rosenthal(3730)
Better Homes and Gardens New Cookbook by Better Homes & Gardens(3653)
Figure Drawing for Artists by Steve Huston(3509)
Paper Parties by Erin Hung(3463)
Draw Your Day by Samantha Dion Baker(3438)
The Genius of Japanese Carpentry by Azby Brown(3364)
The Code Book by Simon Singh(3275)
Japanese Design by Patricia J. Graham(3236)
Dangerous Girls by Haas Abigail(3085)
The Curated Closet by Anuschka Rees(3025)
Lions and Lace by Meagan Mckinney(3016)
How to Make Your Own Soap by Sally Hornsey(2969)
The Checklist Manifesto by Atul Gawande(2915)
Keep Going by Austin Kleon(2838)
The Wardrobe Wakeup by Lois Joy Johnson(2834)
