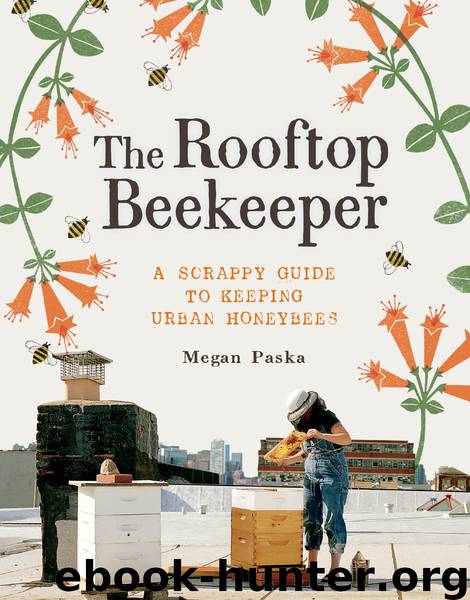
The Rooftop Beekeeper by Megan Paska & Rachel Wharton
Author:Megan Paska & Rachel Wharton [Megan Paska]
Language: eng
Format: epub
Publisher: Chronicle Books LLC
Published: 2014-06-05T16:00:00+00:00
Remove the frame closest to you to free up space to handle the bee-covered frames.
STEP 15: Pat yourself on the back! You’ve just performed your first inspection.
Lighting a Smoker
Lighting your smoker is an easy task, if you follow the right process. Poorly lit smokers may go out mid-inspection due to poor airflow, or if they’re not properly tamped, they may flare up, causing flames to shoot out of the mouth of the smoker. Both situations can create stress or a sense of panic in new beekeepers (not to mention the bees) during an inspection, which makes for a clumsy and potentially sting-filled experience. If you follow the ensuing steps, you should be able to produce a steady stream of opaque, cool smoke for the bees each time you visit, with little to no risk of flare-up. This will help ensure a more peaceful, stress-free inspection. You just want to take your time to get it lit and make sure it’s done right. You don’t want the smoker to go out when you’re inspecting a hive; you are losing time that can be used to observe your bees.
STEP 1: Situate yourself someplace that is shielded from the wind. This will make the whole process infinitely easier. Nothing is more frustrating than going through an entire book of matches, trying unsuccessfully to light a smoker. On a rooftop, where it can be breezy, finding a windbreak is essential to success. Consider investing in a good-quality lighter if you expect to be inspecting hives often.
STEP 2: Start with a bundle of a quick-lighting, aggressively burning fuel such as paper or pine needles. Open the smoker and gently push a handful of this material into the chamber.
STEP 3: Tilt the smoker on its side before lighting a match and igniting the bundle of fuel. Once ignited, you can place the smoker upright.
STEP 4: Grab another handful of fuel and top off the chamber, puffing the bellows periodically. It’s important at this stage to let air to flow freely in the chamber. Do not tamp down the fuel until it is completely ignited.
STEP 5: Once the fuel is burning steadily, begin adding slower-burning fuels such as burlap, twigs, and pine straw. I find adding a little bit at a time works best. As the fuel lights and begins smoking, add more, being careful not to snuff the smoker by packing it too densely. I sometimes use my hive tool to push the fuel into the chamber. Please be cautious! The smoker will be very hot at this point!
Download
This site does not store any files on its server. We only index and link to content provided by other sites. Please contact the content providers to delete copyright contents if any and email us, we'll remove relevant links or contents immediately.
Craft Beer for the Homebrewer by Michael Agnew(18246)
Marijuana Grower's Handbook by Ed Rosenthal(3686)
Barkskins by Annie Proulx(3372)
Project Animal Farm: An Accidental Journey into the Secret World of Farming and the Truth About Our Food by Sonia Faruqi(3221)
The Plant Messiah by Carlos Magdalena(2935)
Red Famine: Stalin's War on Ukraine by Anne Applebaum(2934)
0041152001443424520 .pdf by Unknown(2846)
Organic Mushroom Farming and Mycoremediation by Tradd Cotter(2692)
In the Woods by Tana French(2599)
Beer is proof God loves us by Charles W. Bamforth(2464)
7-14 Days by Noah Waters(2420)
Between Two Fires by Christopher Buehlman(2367)
Borders by unknow(2315)
Reservoir 13 by Jon McGregor(2304)
Meathooked by Marta Zaraska(2260)
The Art of Making Gelato by Morgan Morano(2255)
Birds, Beasts and Relatives by Gerald Durrell(2231)
The 7 Habits of Highly Effective People: Powerful Lessons in Personal Change (25th Anniversary Edition) by Covey Stephen R(2206)
The Lean Farm Guide to Growing Vegetables: More In-Depth Lean Techniques for Efficient Organic Production by Ben Hartman(2137)
