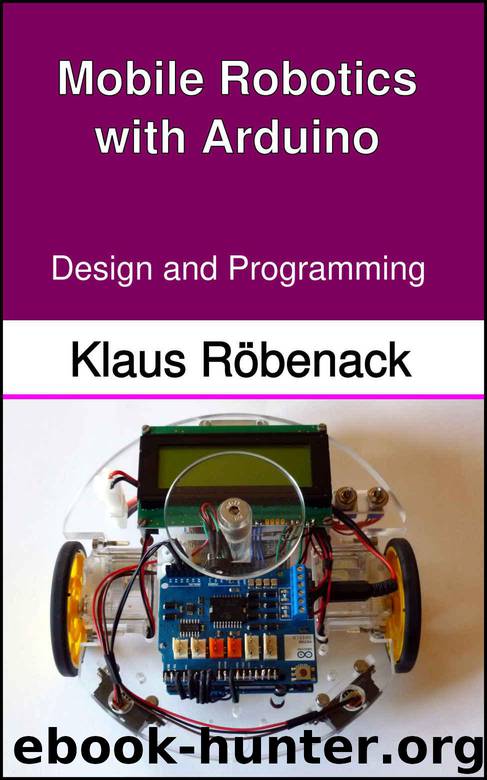
Mobile Robotics with Arduino: Design and Programming by Röbenack Klaus

Author:Röbenack, Klaus [Röbenack, Klaus]
Language: eng
Format: azw3
Published: 2018-12-19T16:00:00+00:00
Current Measurement on the Arduino Motor Shield
The official Arduino motor shield R3 has the ability to measure motor currents. The analog input A0 is available for motor A, input A1 for motor B. The motor current measurement is explained for motor A, the same procedure also applies to motor B. To verify the measurement result, a multimeter operated as amperemeter should be connected in series to motor A for the tests.
The motor current should be shown on the LCD screen. To do this, you include the corresponding libraries and create the instance lcd of the class LiquidCrystal:
#include <LiquidCrystal.h> #include <Streaming.h> LiquidCrystal lcd(10, 2, 7, 6, 5, 4);
The motor control should be done here with the native functions of the Arduino environment, i.e., without the library Motor. The addresses are therefore defined for both motor control as well as current measurement:
const byte DIRA = 12; const byte PWMA = 3; const byte CURA = A0;
In the function setup, the LCD is initialized in the usual way, the digital channels used for motor control are declared as outputs and motor A is set into a suitable motion (here: forward motion with PWM value 200):
void setup() { lcd.begin(20, 4); lcd.print("Motor current:"); // motor signals pinMode (DIRA, OUTPUT); pinMode (PWMA, OUTPUT); // switch on motor A digitalWrite (DIRA, LOW); analogWrite (PWMA, 200); }
The value read by the ADC is an integer, the current could be interpreted as a floating point number. For efficiency reasons, however, the current should also be represented by an integer number. For this purpose we declare two variables:
int val; int cur;
The analog channel for current measurement is read in the same way as the potentiometer values considered at the beginning of this chapter:
val = analogRead(CURA);
With the Arduino motor shield the maximum allowed current of 2A is mapped to the voltage of 3.3V [1]. This corresponds to 1.65A. The ADC maps the voltage range from 0V to 5V to values from 0 to 1023, which would result in a current from 0mA to 3030mA=3.03A across this range. The conversion of the range from 0 to 1023 to the current from 0 to 3030 given in mA can again be done with the function map:
cur = map(val, 0, 1023, 0, 3030);
The main loop for current measurement and visualization is shown below. In addition, each cycle is delayed by 500ms so that the display does not flicker to much.
void loop() { val = analogRead(CURA); lcd.setCursor(0, 1); lcd<<"ADC: "<<val<<" "; // current in mA cur = map(wert, 0, 1023, 0, 3030); lcd.setCursor(0, 2); lcd<<"Current: "<<cur<<" mA "; delay(500); }
In the experiment, the measured values varied significantly from one sampling step to the next. Here it needs to be clarified that with a DC motor the current is cyclically disrupted by the commutator. During these switching operations, voltage peaks can also be caused by the winding inductances. A low-pass filter can help here, with which the measured values can be smoothed. Before the value val is reassigned, the arithmetic mean between the old value and
Download
This site does not store any files on its server. We only index and link to content provided by other sites. Please contact the content providers to delete copyright contents if any and email us, we'll remove relevant links or contents immediately.
| Automotive | Engineering |
| Transportation |
Whiskies Galore by Ian Buxton(41982)
Introduction to Aircraft Design (Cambridge Aerospace Series) by John P. Fielding(33113)
Small Unmanned Fixed-wing Aircraft Design by Andrew J. Keane Andras Sobester James P. Scanlan & András Sóbester & James P. Scanlan(32788)
Craft Beer for the Homebrewer by Michael Agnew(18228)
Turbulence by E. J. Noyes(8014)
The Complete Stick Figure Physics Tutorials by Allen Sarah(7361)
Kaplan MCAT General Chemistry Review by Kaplan(6921)
The Thirst by Nesbo Jo(6921)
Bad Blood by John Carreyrou(6608)
Modelling of Convective Heat and Mass Transfer in Rotating Flows by Igor V. Shevchuk(6427)
Learning SQL by Alan Beaulieu(6274)
Weapons of Math Destruction by Cathy O'Neil(6260)
Man-made Catastrophes and Risk Information Concealment by Dmitry Chernov & Didier Sornette(5996)
Digital Minimalism by Cal Newport;(5745)
Life 3.0: Being Human in the Age of Artificial Intelligence by Tegmark Max(5541)
iGen by Jean M. Twenge(5403)
Secrets of Antigravity Propulsion: Tesla, UFOs, and Classified Aerospace Technology by Ph.D. Paul A. Laviolette(5363)
Design of Trajectory Optimization Approach for Space Maneuver Vehicle Skip Entry Problems by Runqi Chai & Al Savvaris & Antonios Tsourdos & Senchun Chai(5061)
Pale Blue Dot by Carl Sagan(4992)
