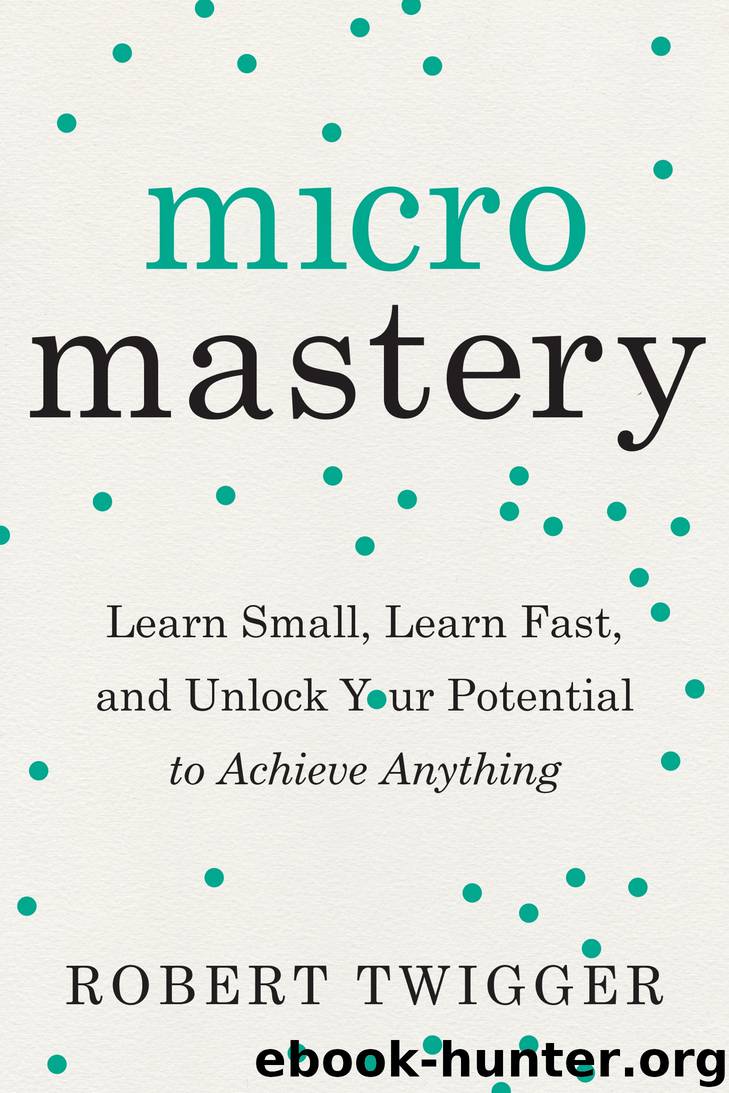
Micromastery by Robert Twigger

Author:Robert Twigger
Language: eng
Format: epub
Publisher: Penguin Publishing Group
Published: 2018-03-06T05:00:00+00:00
8
Lay a Brick Wall
One thing that sets the dabblers apart from the more dedicated home-improver is the ability to lay bricks. I mean, how hard can it be? Well, many try and fail—but there really is no reason. The idea that you have to be apprenticed at fifteen to learn the dark art of bricklaying is nonsense. The celebrated polymath Winston Churchill was inordinately proud of the still-standing wall he built at his country retreat, Chartwell—so take inspiration from his example and get to laying! Like all micromasteries, this could lead on to far bigger and grander projects—but everything starts with the simple laying of one brick on top of another to make, at its most basic, a wall half a brick wide (i.e. bricks laid lengthways, one brick in thickness). This is the best thing to start with (rather than the usual test piece, a barbecue stand) as the work is not complicated by adding slabs and grills.
The entry trick, the thing that will get you up and running, is the cement you use. Notice I said cement and not mortar. Lime mortar is a wonderful bonding agent that allows the building to breathe and even move a little, but it dries more slowly (while appearing to dry out faster) and is trickier to use. It’s the next level up—perfectly attainable once you have mastered using cement, sand, and the all-important plasticizer. To be really certain start with plasticizer—bought from a DIY store. (Though dishwashing liquid is often used instead, proper plasticizer is much better and more durable.) Mix up the sand—must be bricklayer’s soft sand as it has some clay in it—in four parts to one part cement. Then add the plasticizer following the instructions. Do this in a bucket—easier at first than on a traditional board. Then add water bit by bit, stirring with your trowel. You want to really break a sweat to get a soft ice-cream or smooth peanut-butter texture.
Work up to this slowly—the mix is the key. This is the rub-pat barrier—too sloppy and the bricks will sink and misalign under the weight of the bricks above. But too stiff and the bricks won’t adhere and everything will be dry and crumbly, and it’s much harder work to get them level in stiff cement. When using the bucket and adding water, don’t make too much—it’s better to get the consistency right. Cement in a bucket won’t dry out as fast as cement on a board, but you can always spray water on the top to keep it moist. And on a hot day you can wet the bricks before laying them. All this keeps the mix in the right state. Now slop some cement out onto the concrete base—always have a flat concrete surface to build on—and notch a running “V” down the center of the splodge of cement. How big a splodge? A good trowelful—the aim is to get the brick sitting on about a half-inch (1 cm) of level cement.
Download
This site does not store any files on its server. We only index and link to content provided by other sites. Please contact the content providers to delete copyright contents if any and email us, we'll remove relevant links or contents immediately.
The Four Agreements by Don Miguel Ruiz(6729)
Flow by Mihaly Csikszentmihalyi(4666)
The Four Tendencies by Gretchen Rubin(4587)
Adulting by Kelly Williams Brown(4552)
You Do You by Sarah Knight(4454)
The Hacking of the American Mind by Robert H. Lustig(4355)
Ikigai by Héctor García & Francesc Miralles(4219)
Right Here, Right Now by Georgia Beers(4187)
A Simplified Life by Emily Ley(4145)
The Art of Happiness by The Dalai Lama(4116)
The Power of Positive Thinking by Norman Vincent Peale(4045)
The Little Book of Hygge by Meik Wiking(3672)
The French Women Don't Get Fat Cookbook by Mireille Guiliano(3643)
The Heroin Diaries by Nikki Sixx(3534)
The Courage to Be Disliked by Ichiro Kishimi & Fumitake Koga(3468)
The Choice by Edith Eva Eger(3464)
Why Buddhism is True by Robert Wright(3434)
Spark Joy by Marie Kondo(3284)
Make Your Bed by William H. Mcraven(3166)
