Make a Planning Tool in Microsoft Excel by Tommy Axelsson
Author:Tommy Axelsson [Axelsson, Tommy]
Language: eng
Format: azw3
Published: 2017-08-19T04:00:00+00:00
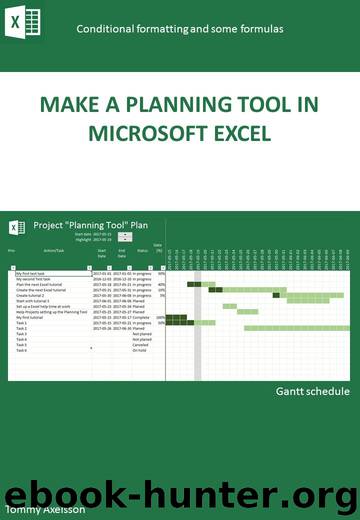
Step 5 Design
Let’s make the planer a little more stylish!
See the title in cell “B1”? Let’s make the font a size of 28 and color the background of “A1:BN5” with a green of (Red:34, Green:116, Blue: 71) (or any other color you want). And while we have “A1:BN5” selected let’s change the font color too. Let’s make it white.
Now select cells “B1 to F5” and merge the cells.
To get a little flavor lets copy in the Excel logo (or your own company logo).
We can also add some borders for your Table from “A6:BN100”. I used a light green. I also like to make the border between column “F” and “G” a little thicker to divide the information part and the table part.
Now select “A5:F5” and go to tab “Data” and select “Filter”. This will create filters for all our columns. I normally add more columns like project, responsible and other stuff suited for what I use the planner for. You can easily add columns without messing stuff up by right click on a column from A to F and add a column. The filters we just made will make it easy to filter our table depending on what we want to see. For example:
Only priority “1” Actions/Tasks
Only one or more tasks in a particular status (for example “in progress” or “not planed”)
A particular project
Deadlines in ascending order
And much more
Download
This site does not store any files on its server. We only index and link to content provided by other sites. Please contact the content providers to delete copyright contents if any and email us, we'll remove relevant links or contents immediately.
The Brazilian Economy since the Great Financial Crisis of 20072008 by Philip Arestis Carolina Troncoso Baltar & Daniela Magalhães Prates(362178)
International Integration of the Brazilian Economy by Elias C. Grivoyannis(111599)
The Art of Coaching by Elena Aguilar(53651)
Flexible Working by Dale Gemma;(23361)
How to Stop Living Paycheck to Paycheck by Avery Breyer(19835)
Thinking, Fast and Slow by Kahneman Daniel(12529)
The Acquirer's Multiple: How the Billionaire Contrarians of Deep Value Beat the Market by Tobias Carlisle(12429)
The Radium Girls by Kate Moore(12180)
The Art of Thinking Clearly by Rolf Dobelli(10719)
Hit Refresh by Satya Nadella(9259)
The Compound Effect by Darren Hardy(9151)
Tools of Titans by Timothy Ferriss(8593)
Atomic Habits: Tiny Changes, Remarkable Results by James Clear(8519)
Turbulence by E. J. Noyes(8209)
A Court of Wings and Ruin by Sarah J. Maas(8110)
Change Your Questions, Change Your Life by Marilee Adams(7931)
Nudge - Improving Decisions about Health, Wealth, and Happiness by Thaler Sunstein(7853)
How to Be a Bawse: A Guide to Conquering Life by Lilly Singh(7613)
Win Bigly by Scott Adams(7346)
