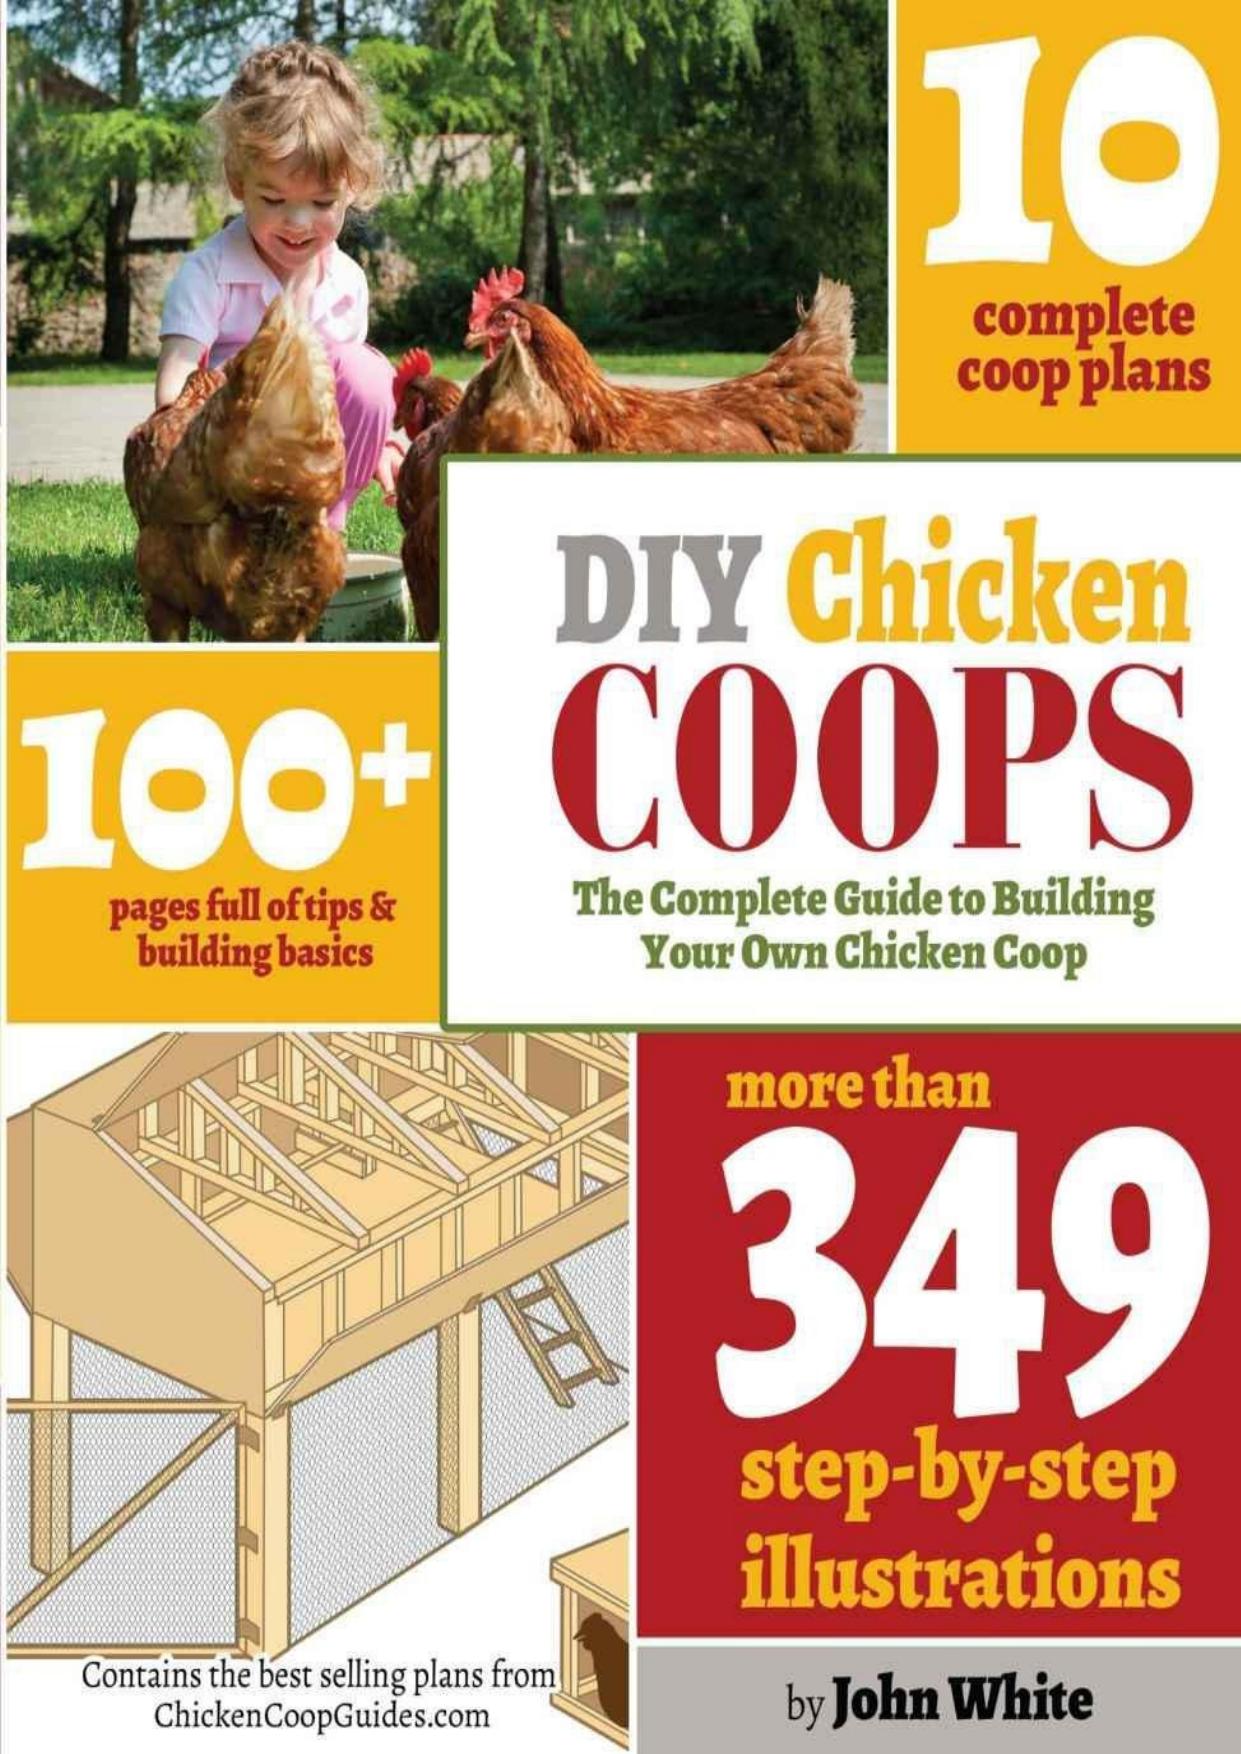
DIY Chicken Coops: The Complete Guide to Building Your Own Chicken Coop by John White
Author:John White [White, John]
Language: eng
Format: epub, pdf
Published: 2014-12-13T08:00:00+00:00
Gambrel
Poultry Shed
Introduction The Gambrel Poultry Shed is the perfect accessory for anyone with advanced knowledge of carpentry.
This is a fashionable addition that goes with any small farm set-up. It could come as a kit for as much as $5000.00! Depending on the materials used, to build this coop cost less than $1000!
With such easy cleanup in the design, why would anyone ever pay six times as much and still have to put in the work?
Building Plans: Gambrel Poultry Shed
Description Sled
Long Plank
Short Planks
Plywood Sheet Fiberglass Board
Planks
Plywood Sheathing Rear Support Plank Rear Ridge Plank Rear Sheathing
2x6 Rear Sill
Nesting Box Support Nesting Box Base Plywood Sheet
Door Planks
Front Wall and Door Sheath Front Wall Support Plank Material List
Dimensions Quantity BASE
4x4x10’ 7 2x4x10’ 2
2x4x8’ 7
4x8x¾” 4
By builder
Side Walls
2x4x8’ 24
4x8x¾” 6
Rear Wall
2x4x8’ 9
2x4x10’ 1
4x8x¾” 2
2x6x10’ 1
Nesting Boxes
2x4x10’ 10
4x8x¾” 2
4x8x½ -¾” 4
Front Wall & Doors
2x4x8’ 6
4x8x½-¾” 10
2x4x10’ 4
Roost
Roost Support 2x4x8’ 2 Roost Planks 2x4x8’ 3 Roof
Roof Planks 2x4x8’ 16 Sheathing 4x8’x¾” 6
Long 1x4 planks Short 1x4 plank Handles
Hinges
Veneer/Siding Wood Sealant Paint
Screws
Shingles
Latches
Trim
1x4x10’
1x4x8’
Miscellaneous: To be determined by builder By builder
By builder
By builder
By builder
By builder
By builder
By builder
By builder
4
14
4
12
300 cu. Ft. 2 Gallons 2 Gallons 300 Min. 1 box min. 4 min.
If this coop will not be moved, we recommend
setting it on a concrete base to prevent water
intrusion. Begin by laying out the EXTERIOR
perimeter of the concrete base. Feel free to use
the completed base platform as a guide. You can
use stakes and string ( figure. A ).
Dig a trench at least 8” wide by 6” deep around
the entire perimeter of the platform. You need to
at least be able to align the outside edge of the
platform with the trench below. The platform is
going to “sit” on this concrete form.
Construct a wooden brace around both the
exterior AND interior edges of the trench (as shown). Now would be a good time to get some figure. Athreaded rebar at least 3/8”ø at least 1’-6’”
wooden braces. Follow manufacturer instructions
on mixing and pouring the concrete. Tamp the
rebar THREADS UP at regular intervals down
the center of the trench. ( figure. B )
Exterior Box Rebar Make sure to use a level ensure the rebar runs
straight vertically! It is OK if you aren’t exactly
equidistant just as long as each rebar piece runs Interior Brace close to the center of the platform’s edge. Fill the
concrete to the top edges of the braces and use
water to smooth over the top.
This method may be a little unorthodox, but it
sure is easy. After the concrete sets and the rebar
is thoroughly set, lay the platform on top of the figure. Brebar, being square, it should sit easy enough.
MAKE SURE THE PLATFORM IS SQUARE! Once the platform is square on the rebar, give
it a good “whack” with a hammer or soft mallet,
just enough to make a good indent on the wood
where the rebar is located. Be sure to hit the board
wherever it touches rebar or you will miss a piece!
Flip the platform structure over and you will
see exactly where to drill through the structure to
attach it to the rebar. Make sure your drill bit is
just as big as the indent for the snug fit.
Download
DIY Chicken Coops: The Complete Guide to Building Your Own Chicken Coop by John White.pdf
This site does not store any files on its server. We only index and link to content provided by other sites. Please contact the content providers to delete copyright contents if any and email us, we'll remove relevant links or contents immediately.
| Birds | Cats |
| Dogs | Essays |
| Fish & Aquariums | Food & Nutrition |
| Horses | Insects & Spiders |
| Mice, Hamsters & Guinea Pigs | Pet Loss |
| Rabbits | Reptiles & Amphibians |
Finding Gobi by Dion Leonard(2836)
Grumpy Cat by Grumpy Cat(2743)
A New Earth: Awakening to Your Life's Purpose by Eckhart Tolle(2644)
The Silkworm by Robert Galbraith(2487)
Tippi by Tippi Hedren(2228)
End of Days by Sylvia Browne(2176)
Total Cat Mojo by Jackson Galaxy(2003)
Backyard Chickens Beyond the Basics by Pam Freeman(1938)
Penguin Bloom by Cameron Bloom(1930)
The Animals Among Us by John Bradshaw(1861)
The Ultimate Pet Health Guide by Gary Richter(1760)
All Things Bright and Beautiful by James Herriot(1751)
The Plant-Based Dog Food Revolution by Mimi Kirk(1709)
Vet in Harness by James Herriot(1697)
Doggy Desserts: 125 Homemade Treats for Happy, Healthy Dogs by Cheryl Gianfrancesco(1678)
Dog Years by Mark Doty(1676)
Cesar's Way by Cesar Millan(1668)
Chicken Soup for the Ocean Lover's Soul by Jack Canfield(1641)
Animal Speak by Ted Andrews(1618)
