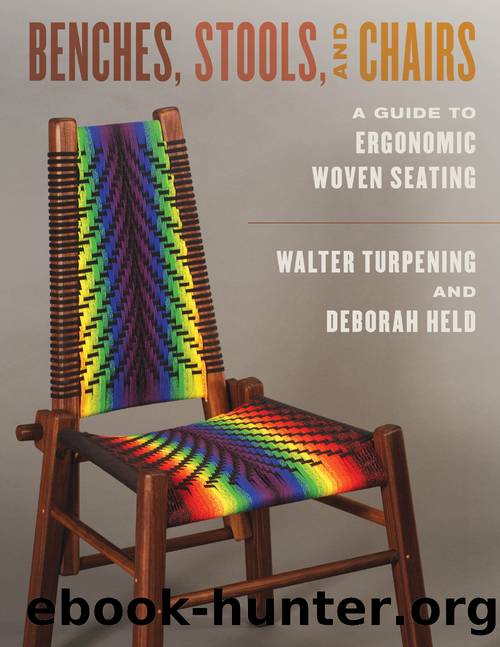
Benches, Stools, and Chairs by Walter Turpening & Deborah Held
Author:Walter Turpening & Deborah Held
Language: eng
Format: epub
Publisher: Stackpole Books
Published: 2022-03-30T00:00:00+00:00
CHAIR BACK
The Spinnerâs Chair and Knitterâs Rocker backs are removable to allow for easier transport. The side benefit of the removable back is that weaving the seat and back separately is easier than trying to weave with the back in place.
The sides of the chair or rocker back are angled to match the leg splay of the seat frame. The purpose of this is to allow freedom of arm motion while the spinner is drawing out their fiber during the spinning process. Artistically, it enhances the trapezoidal flow to the chair.
There are four parts to the chair backâtwo sides and two rails. The back height is determined by measuring the customerâs back height, from the seat up to the top of their shoulders. The sides are cut 10 inches longer, so that when the back is positioned on the back stretcher, it follows a 5-degree back angle, which comfortably supports the spinner or knitter.
Figure 5.56. Back uprights.
Rail mortises are cut at 5 degrees using a mortiser with an angle jig similar to the 5-degree jig used with the drill press. The âfish mouthâ mortise/slot slides onto the back stretcher of the seat frame. The mortise/slot is a 26 mm hole then cut on the band saw. The 26 mm slot is 0.6 mm larger than the 1-inch (25.4 mm) stretchers. Shaping of the slot is similar to the shaping of the tops and bottoms of the legs.
Because the back is trapezoidal and each chair is custom fitted to the individual, variations arise in the length of the top and bottom back rails. Instead of calculating the lengths, it is easier to measure the spacings between the back sides.
Figure 5.57. Sides clamped on seat frame, aligned with the back legs and spacings measured.
For comfort, the back rails are curved slightly, which then curves the woven surface.
Figure 5.58. Layout of back rails. The shorter one is the top rail of the chair back.
Figure 5.59. Rough cutout of the back rails.
Figure 5.60. Dry fitting the back rail tenons into the upright mortises.
Figure 5.61. Dry fitting the back parts.
Figure 5.62. Rechecking the dry-fit back onto the seat frame to be sure all the angles are right and the tenons are tight in their mortises.
Figure 5.63. Finished chair back attached to the seat frame.
Figure 5.64. Back wings are created for each back leg, for firmly attaching the back to the seat. The steel screw, seen here, is just for positioning the wings during assembly. Threaded brass inserts (¼-20 threads) are used in the finished back uprights, placed 10 inches up from the seat stretcher.
To secure the back to the seat, ¼-20 threaded rods are glued into 1¼-inch-diameter by 1¾-inch-long wood blanks. The rods are left to protrude by 2 inches so as to run through the wings on the legs and fully into the threaded inserts.
Figure 5.65. Turning the back knobs.
After the glue has set, securing the ¼-20 threaded rods into the knob blanks, I use jam nuts to hold the knobs in the drill chuck.
Download
This site does not store any files on its server. We only index and link to content provided by other sites. Please contact the content providers to delete copyright contents if any and email us, we'll remove relevant links or contents immediately.
vogue knitting beginner basics by Unknown(1153)
280 Japanese Lace Stitches by Nihon Vogue(1106)
KNIT - Vogue Knitting on the go by Socks(980)
Knitting for Beginners: Learn How to Knit Quickly and Easily From Home (Knitting Books - Master this Amazing Craft and Knit Beautiful Patterns) by Victoria Lane(858)
The Pocket Guide to Fishing Knots: A Step-by-Step Guide to the Most Important Knots for Fresh and Salt Water - PDFDrive.com by Joseph B. Healy(693)
Ultimate Book of Everyday Knots by Geoffrey Budworth(599)
55 Fantastic Japanese Knitting Stitches by Kotomi Hayashi(584)
Crochet Collage Garden by Chris Norrington(579)
100 Crochet Tiles by Various(558)
50 THINGS TO KNOW ABOUT KNITTING by Fanelli Christina(546)
The Ultimate All-Around Stitch Dictionary by Bernard Wendy;(546)
Cross Stitch Collection by Unknown(541)
Spooktacular Crochet by Annie's(522)
Traditional Knitting Patterns by James Norbury(513)
Ultimate Illustrated Guide to Sewing Clothes by Mahon Joi;(498)
Better Homes & Gardens Can It! by Unknown(498)
First Time Embroidery and Cross-Stitch by Wyszynski Linda;(475)
A Masterclass in needle felting endangered species by Cindy-Lou Thompson(474)
The Tunisian Crochet Handbook: A Beginnerâs Guide by Toni Lipsey(471)
