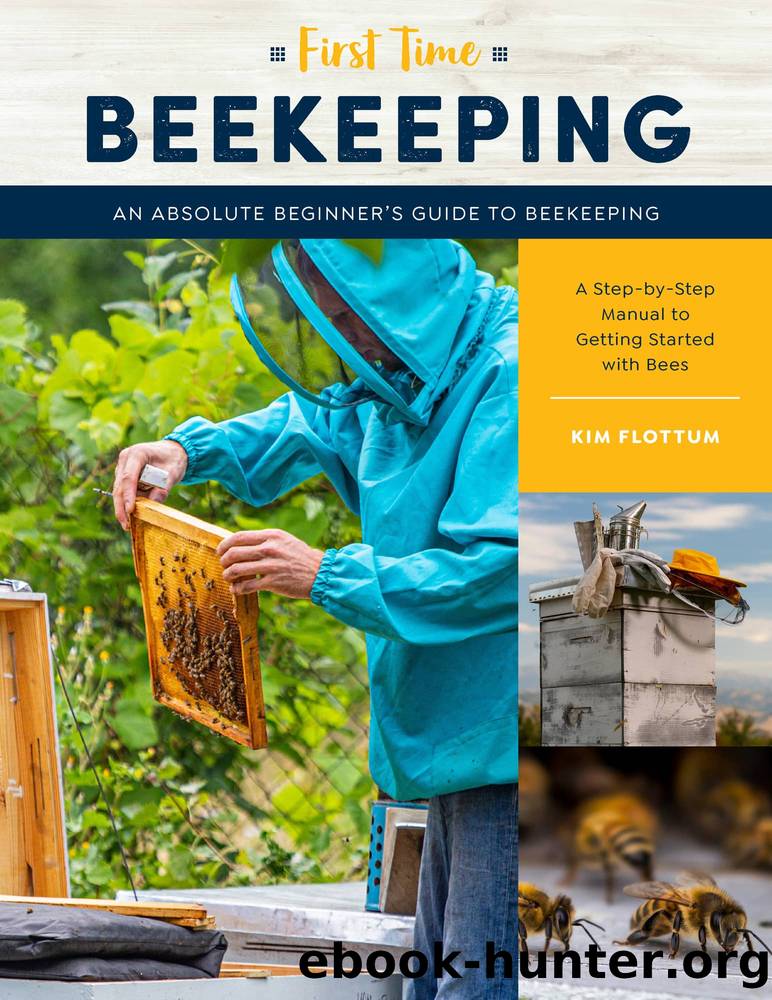
First Time Beekeeping by Kim Flottum

Author:Kim Flottum
Language: eng
Format: epub
Publisher: Quarry Books
Published: 2020-10-15T00:00:00+00:00
Check to make sure the frames have been removed and that you have placed the wooden entrance reducer in the entrance into which you are going to dump the bees. Make sure the box that is going to go on top of the bottom box is close by, along with the inner cover that will go on the new colony.
Depending on the type of package you haveâplastic or woodâyouâll proceed one of two ways. If plastic, pry open the end using a hive tool or screwdriver. Hold it closed. When youâre ready, youâre going to thump the package again, then remove the feeder can, open the end and pour the bees into the cavity in the space created in the box when you removed frames. Pour as many as you canâshake them a little, but not muchâand set the package, still containing a few bees, in front of the colony. If you have the standard wood-and-screen cage, thump again, remove the can cover and the can and pour the bees out of this opening into the cavity in the hive. This action will put some bees in the air, but donât be concerned. They are homeless, very confused, and unlikely to cause you harm.
Carefully lower the frames you removed into the bottom box. Let them slowly sink as the bees on the bottom are gently moved aside to make room for the frames.
Three criteria for inserting a queen cage are: easy access to the queen cage by the hive bees, being securely held, and out of the way of the feeder (if it leaks). The more care you take in introducing your new queens, more food, and less interaction with bees they arenât familiar with, the greater the probability they will be accepted.
If you place her in a second box between frames, hold the frames secure, and place this box on the box with all the workers. No matter where she is, place a pollen substitute patty directly on the top bars of the second box to one side of the inner cover hole before replacing the inner cover or putting on the hive top feeder. Leave the paper on so it doesnât dry out but score the paper with four or five cuts on both sides to make access easier. Replace the inner cover, position the feeder if you are using a pail over the inner cover hole or feeder jars on the inner cover, and cover these with the extra super you brought. Or, put on the hive top feeder and the inner cover and close the colony.
Download
This site does not store any files on its server. We only index and link to content provided by other sites. Please contact the content providers to delete copyright contents if any and email us, we'll remove relevant links or contents immediately.
Machine Learning at Scale with H2O by Gregory Keys | David Whiting(4268)
Never by Ken Follett(3890)
Fairy Tale by Stephen King(3314)
Will by Will Smith(2881)
Hooked: A Dark, Contemporary Romance (Never After Series) by Emily McIntire(2532)
The Dawn of Everything: A New History of Humanity by David Graeber & David Wengrow(2164)
The Becoming by Nora Roberts(2164)
A Short History of War by Jeremy Black(1823)
HBR's 10 Must Reads 2022 by Harvard Business Review(1822)
The Strength In Our Scars by Bianca Sparacino(1820)
Go Tell the Bees That I Am Gone by Diana Gabaldon(1738)
A Game of Thrones (The Illustrated Edition) by George R. R. Martin(1676)
515945210 by Unknown(1645)
Bewilderment by Richard Powers(1592)
443319537 by Unknown(1530)
The 1619 Project by Unknown(1439)
The Real Anthony Fauci: Bill Gates, Big Pharma, and the Global War on Democracy and Public Health (Childrenâs Health Defense) by Robert F. Kennedy(1384)
How to Live by Derek Sivers(1339)
Works by Richard Wright(1319)
