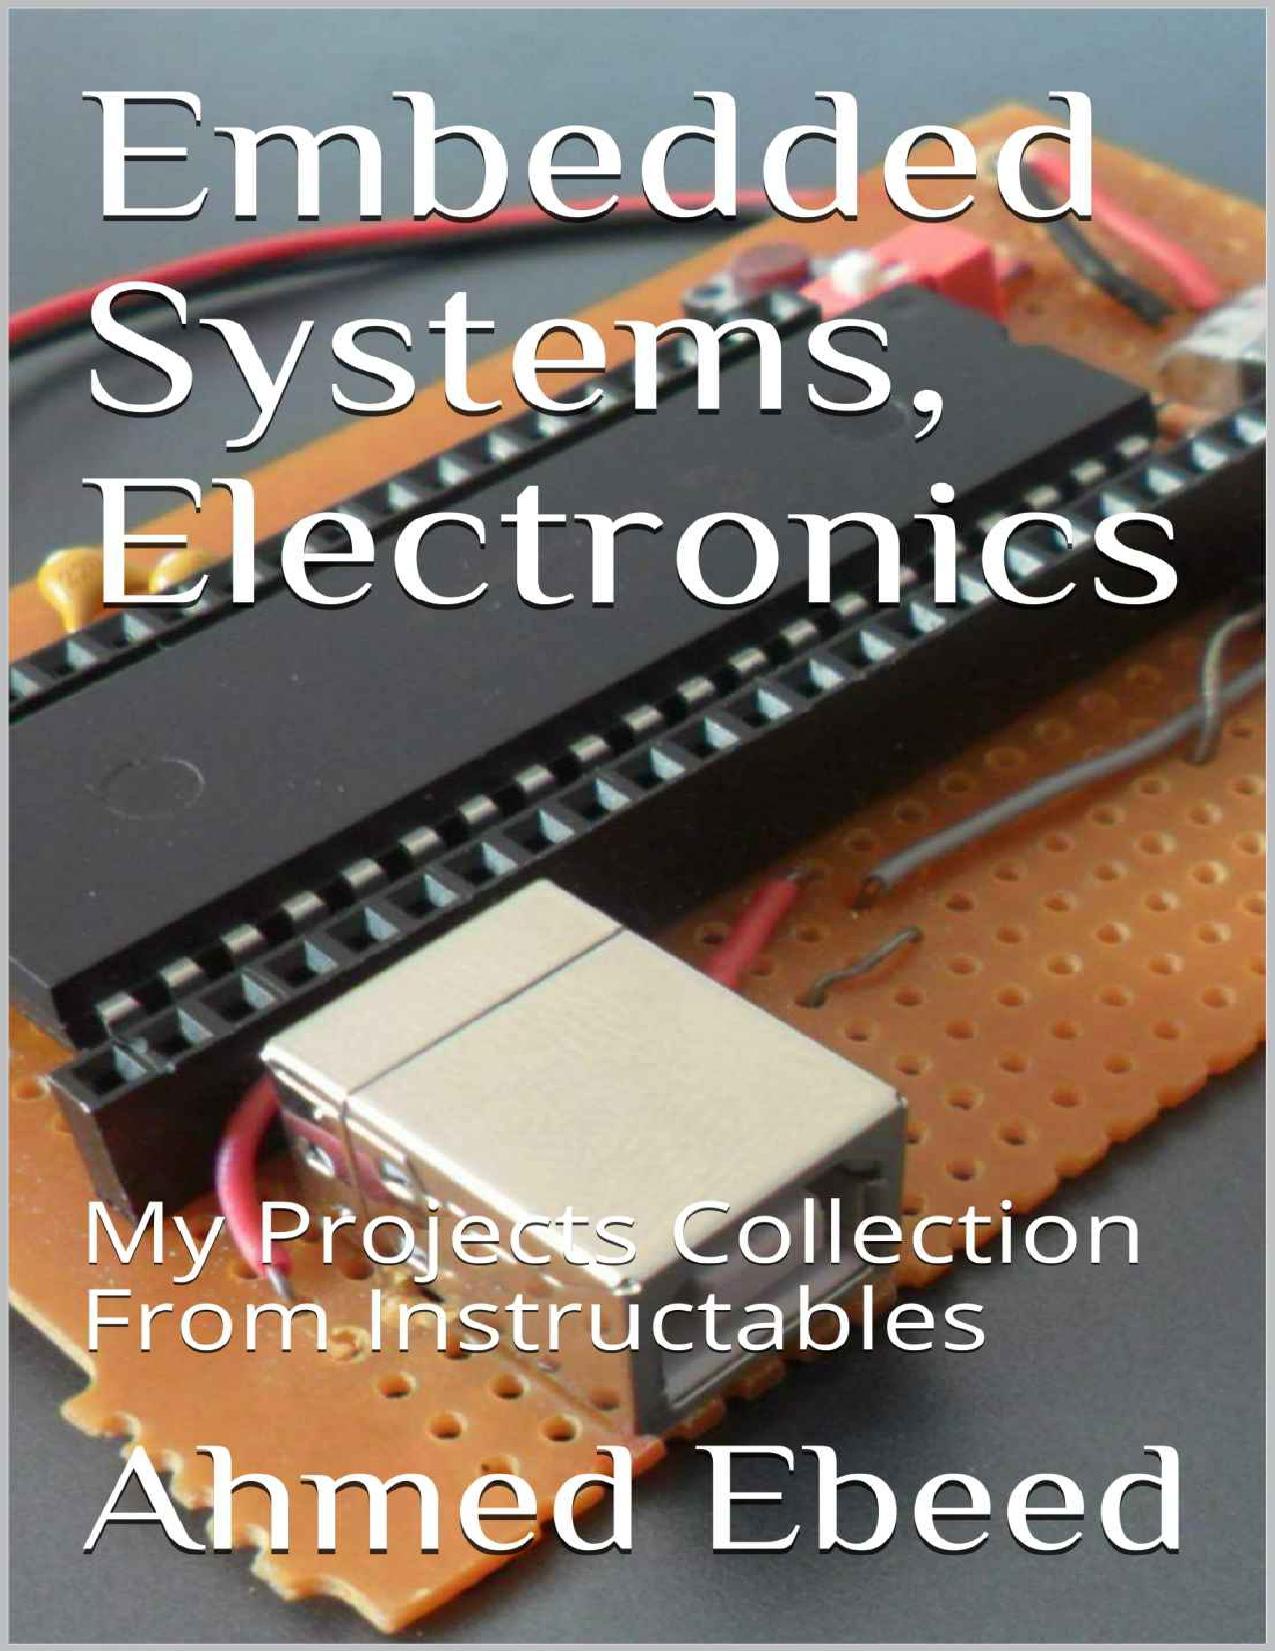
Embedded Systems, Electronics by Ebeed Ahmed

Author:Ebeed, Ahmed
Language: eng
Format: epub, pdf
Publisher: MicroMonitor
Published: 2017-03-27T00:00:00+00:00
Step 2: Start Soldering
There are many instructables and other online tutorials for soldering.
I used a large verro board because I didn't know how exactly the circuit will occupy.
I started to solder the components on the board.
After I finished assembling and soldering, I used an architects saw to cut the board into the size which the components actually fit into.
Step 3: Install Pinguino Boot loader
The boot loader is the initial software that enables the Microcontroller to communicate with the PC through the USB port.
It also enables the Microcontroller to self update its software sent on the USB port.
This is the link were you can get the boot loaders of your circuit. In my circuit, I 've chosen the PIC18F4550 Microcontroller with the 20MHz Crystal
http://pinguino32.googlecode.com/svn/bootloaders/8/usb/v4.x/hex/
The 18F4550 Microcontroller chip is a self programming Microcontroller.
This means that the Pinguino board can be used to update its Firmware to a new one making it capable of doing a new function.
Initially, the Microcontroller cannot directly communicate with PC using USB port. But it can be programmer as a normal Microcontroller.
You can program your chip on an external USB or Serial Microcontroller programmer.
You have to do this step only once. After this, when completing Pinguino, you will not have to use a programmer any more.
I installed the bootloader using a simple programmer I previously built. It is called JDM Programmer.
You can build it your self. It is simple and direct.
Here is a link for the Instructable of the programmer
http://www.instructables.com/id/18F4550-Programmer-in-Ten-years/
I used the PicPGM programmer with my serial JDM programmer to load the target bootloader file (Bootloader_v4.13_18f4550_X20MHz.hex)
After successfully install the Bootloader Hex file on the Microcontroller chip , you can insert it into the Pinguino board.
Congratulations, you have completed the Pinguino board Hardware part!!
Download
This site does not store any files on its server. We only index and link to content provided by other sites. Please contact the content providers to delete copyright contents if any and email us, we'll remove relevant links or contents immediately.
GQ GQ. Where Are You? by Sharon Ritt(665)
Love Potion #8 (Avatar: The Last Airbender) by Nickelodeon Publishing(512)
Mrs. dalloway by Virginia Woolf(445)
Everything About Astronauts Vol 1 8DEC21 by Jennings Marianne(370)
The Earth Kingdom Chronicles: The Tale of Aang by Nickelodeon Publishing(152)
Carl Hiaasen 4-Book Collection by Carl Hiaasen(151)
Crystals and Gemstones by Patience Coster & Tracey Kelly(150)
The Earth Kingdom Chronicles: The Tale of Azula by Nickelodeon Publishing(137)
March of the Blue Moon by Elaine Donadio(134)
Clean Code Principles and Patterns, 2nd Edition by Petri Silen(133)
The Earth Kingdom Chronicles: The Tale of Zuko by Nickelodeon Publishing(132)
The Earth Kingdom Chronicles: The Tale of Katara by Nickelodeon Publishing(128)
The Earth Kingdom Chronicles: The Tale of Toph by Nickelodeon Publishing(124)
My Name is River by Emma Rea(122)
The Periodic Table by Lisa Regan(122)
The Secret Deep by Lindsay Galvin(121)
Freddy and the French Fries: #2: The Mystery of Silas Finklebean by David Baldacci(121)
Blizzard! by Jake Maddox(120)
Super Science Projects You Can Make and Share by Mari Bolte(116)
