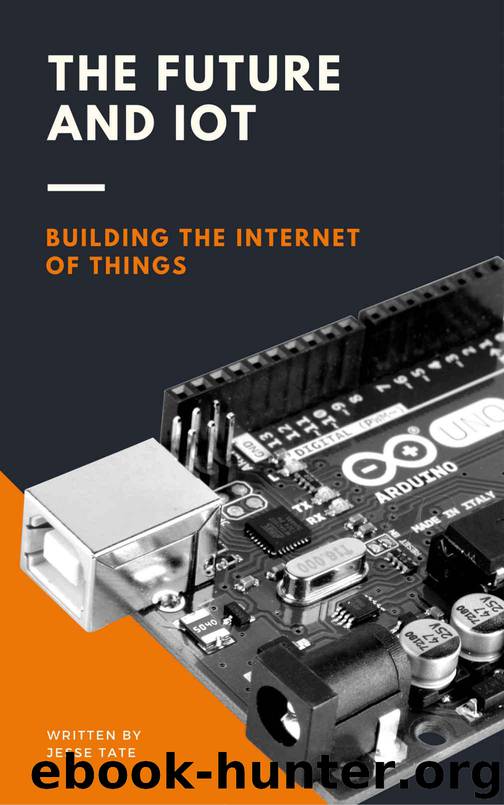
The Future and IoT: Building the Internet of Things by Tate Jesse & Dian Elliott

Author:Tate, Jesse & Dian, Elliott [Tate, Jesse]
Language: eng
Format: azw3
Published: 2017-08-29T16:00:00+00:00
Library functions
We have talked about pins and how they can be used for sensors and actuators. Now we’re going to talk about how you can control these from your code and what functions you need to call into your code to use the pins as input and outputs.
Before using I/O pins, we should define it inside the code either it’s an input or output. Basically, we have to assign it, otherwise, the code picks either one by default. In order to do that, we can use a function called pinMode (pin, mode) function. Note that capitalization matters; letter “m” of the word “Mode” has to be capital. The first argument in this function is the number of the pin you want to write the code for. The number of pins is called on the Arduino Uno board; digital pins are 0-13 and analog pins are A0-A5. For other boards, you may get more numbers.
The second argument is the mode which is the I/O mode the pin is set to. There are three modes; INPUT, OUTPUT, and INPUT_PULLUP; the first and second mode assign the intended pin to be input or output pin, respectively. The last one makes the pin acts as an input, but it reverses the polarity. When you drive zero volts on it, or in other words when you drive it low, you read it as a high or vice versa.
Example:
pinMode(13, OUTPUT) → sets the digital pin 13 as output
Download
This site does not store any files on its server. We only index and link to content provided by other sites. Please contact the content providers to delete copyright contents if any and email us, we'll remove relevant links or contents immediately.
Embedded Programming with Modern C++ Cookbook by Igor Viarheichyk(4173)
Implementing Cellular IoT Solutions for Digital Transformation by Dennis McCain(4075)
Linux Device Driver Development Cookbook by Rodolfo Giometti(4069)
Embedded Linux Development Using Yocto Project - Third Edition by Otavio Salvador & Daiane Angolini(3930)
TinyML Cookbook by Gian Marco Iodice(3836)
Simplifying 3D Printing with OpenSCAD by Colin Dow(2944)
TinyML Cookbook by Gian Marco Iodice & Ronan Naughton(2696)
Fusion 360 for Makers by Lydia Sloan Cline(2355)
Networking A Beginner's Guide by Bruce Hallberg(2338)
Hands-On Linux for Architects by Denis Salamanca(2170)
Computers For Seniors For Dummies by Nancy C. Muir(2139)
But How Do It Know? by J. Clark Scott(2117)
Raspberry Pi and MQTT Essentials by Dhairya Parikh(2086)
Arduino Project Handbook, Volume 2: 25 Simple Electronics Projects for Beginners by Geddes Mark(2049)
9781803246888-ENHANCING DEEP LEARNING WITH BAYESIAN INFERENCE by Unknown(2016)
Hack and HHVM by Owen Yamauchi(2003)
31 Days Before Your CompTIA A+ Exams (Shanette Luellen's Library) by Benjamin Patrick Conry(1967)
Hands-On Internet of Things with MQTT by Tim Pulver(1876)
MicroPython Projects by Jacob Beningo(1873)
