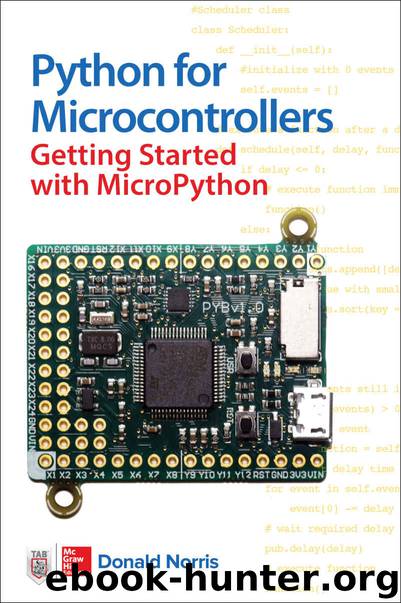
Python for Microcontrollers: Getting Started with MicroPython by Norris Donald

Author:Norris, Donald [Norris, Donald]
Language: eng
Format: epub, azw3
Publisher: McGraw-Hill Education
Published: 2016-11-29T05:00:00+00:00
Figure 6-1 Backside of the AMP board.
The front side of the AMP board is shown in Figure 6-2 , where you may clearly see all the labeled solder pads for the male header pins. Note that the three-pin header is perpendicular to the other eight-pin headers because it is needed to connect the AMP board to one of the Pyboard’s analog-to-digital converters (ADCs), along with the analog voltage supply and ground connections.
Figure 6-2 Front side of the AMP board.
Note that the speaker’s two wires must be soldered to the labeled speaker solder pads located near the lower-right corner of the board. Although technically not required, I would suggest soldering the red speaker lead to the square solder pad and the black lead to the remaining round pad.
Additionally, the electret microphone must be soldered to the pads located at the left of center on the bottom row of solder pads. You must carefully place this tiny microphone into the two pads such the microphone case just covers the circular silkscreen image on the board. This is necessary because the microphone leads are polarized, meaning there are plus and minus leads, which must match the board connections. Figure 6-3 is a macro-photograph of the underside of the electret microphone. You should be able to see the + symbol next to the upper pin. This must be inserted into the matching + pin on the AMP board.
Download
Python for Microcontrollers: Getting Started with MicroPython by Norris Donald.azw3
This site does not store any files on its server. We only index and link to content provided by other sites. Please contact the content providers to delete copyright contents if any and email us, we'll remove relevant links or contents immediately.
The Mikado Method by Ola Ellnestam Daniel Brolund(23444)
Hello! Python by Anthony Briggs(22578)
Secrets of the JavaScript Ninja by John Resig Bear Bibeault(21366)
Kotlin in Action by Dmitry Jemerov(20426)
The Well-Grounded Java Developer by Benjamin J. Evans Martijn Verburg(20264)
OCA Java SE 8 Programmer I Certification Guide by Mala Gupta(19440)
Algorithms of the Intelligent Web by Haralambos Marmanis;Dmitry Babenko(18248)
Grails in Action by Glen Smith Peter Ledbrook(17372)
Sass and Compass in Action by Wynn Netherland Nathan Weizenbaum Chris Eppstein Brandon Mathis(14803)
Test-Driven iOS Development with Swift 4 by Dominik Hauser(11205)
Windows APT Warfare by Sheng-Hao Ma(7854)
Layered Design for Ruby on Rails Applications by Vladimir Dementyev(7567)
Blueprints Visual Scripting for Unreal Engine 5 - Third Edition by Marcos Romero & Brenden Sewell(7475)
Solidity Programming Essentials by Ritesh Modi(4588)
Functional Programming in JavaScript by Mantyla Dan(4552)
Hands-On Full-Stack Web Development with GraphQL and React by Sebastian Grebe(4448)
WordPress Plugin Development Cookbook by Yannick Lefebvre(4419)
Ember.js in Action by Joachim Haagen Skeie(4310)
Unity 3D Game Development by Anthony Davis & Travis Baptiste & Russell Craig & Ryan Stunkel(4283)
