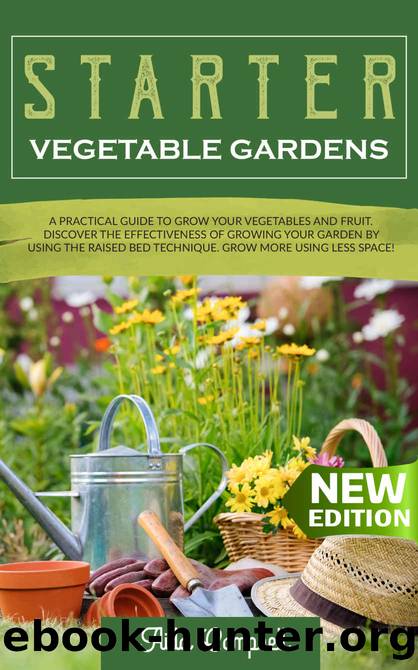
Starter Vegetable Gardens: A Practical Guide to Grow Your Vegetables and Fruit. Discover the Effectiveness of Growing Your Garden by Using the Raised Bed Technique. Grow More Using Less Space! by Aida Campbell
Author:Aida Campbell [Campbell, Aida]
Language: eng
Format: azw3
Published: 2020-09-05T16:00:00+00:00
How to Build a Raised Bed Gardening Step by Step
The 'contained lifted garden bed' is the most commonly lifted bed. For several vegetable and herbal gardens as well as flower gardens, it provides perfect growing conditions. Many fruits also do well in raised garden beds, including strawberries, grapes and raspberries.
Steps for a wooden upholstered bed as most elevated beds are made from wood.
Step One
Selecting a location is one of the most important decisions you make while building an elevated bed garden. Select a region that gets full sun, as most vegetables need full sun. If you want to plant vegetables that require partial sunlight, either build another bed in a different location or find a location that receives complete and partial sunlight. Also, make sure the area is flat, so water is secure, and all areas receive constant and equal amounts of water. If you want to make watering quickly, consider installing a quick-to-use drip irrigation system to keep your garden watered.
Step Two
Decide your garden size and shape. Make sure you can reach all of your gardens without going into bed. Try to keep the garden long and narrow, allowing you to access all your vegetables without actually entering the garden. That's nice because the soil won't get compressed from running over it. This will give you carrots growing as straight as an arrow. Note accessibility is important, and if you want to place your garden against a fence, tries to make it just 3 feet long so you don't have to walk into the garden. The depth of an elevated bed garden is up to you, but the deeper, the better, especially if you grow carrots or parsnips that need deeper soil. If you can, make your bed 12 inches tall!
Step Three
Your site's planning is very critical. Once you have your garden shape and scale, start building the bed. Grab the existing sod and loosen the soil below to a depth of eight to twelve inches. This gives your garden extra depth and good drainage. To move quickly, just cover the current sod and soil with newspaper or cardboard.
Step Four
Now it's time to build the bed. Using rot-resistant lumber like cedar or one of the newer composite woods to create your bed, depending on the size of the garden, 'two by six' pieces of wood will create the entire garden. Cut the pieces to the appropriate length; add them to a simple frame. There are several different ways to add the wood, but choose one that is simple for you and can hold well for years of use.
Step Five
After building the frame in a spot, make sure you level your bed from all directions. This is a necessary move because if your bed is not level, you will find that water flows of the garden and sits in another. If part of your frame is high, just remove any under it until you have a level frame.
Step Six
It's time to fill your garden with soil and compost after levelling. This will allow you to create a garden with great soil, ideal for growing vegetables.
Download
This site does not store any files on its server. We only index and link to content provided by other sites. Please contact the content providers to delete copyright contents if any and email us, we'll remove relevant links or contents immediately.
Turbulence by E. J. Noyes(8153)
The Thirst by Nesbo Jo(7036)
Gerald's Game by Stephen King(4746)
Be in a Treehouse by Pete Nelson(4123)
Marijuana Grower's Handbook by Ed Rosenthal(3732)
The Sprouting Book by Ann Wigmore(3649)
The Remains of the Day by Kazuo Ishiguro(3497)
The Red Files by Lee Winter(3461)
Sharp Objects: A Novel by Gillian Flynn(3075)
Organic Mushroom Farming and Mycoremediation by Tradd Cotter(2736)
Christian (The Protectors Book 1) by L. Ann Marie(2721)
The Culinary Herbal by Susan Belsinger(2513)
Stone Building by Kevin Gardner(2428)
The Starter Garden Handbook by Alice Mary Alvrez(2378)
Lilac Girls by Martha Hall Kelly(2351)
The Unlikely Pilgrimage of Harold Fry by Rachel Joyce(2322)
The Lean Farm Guide to Growing Vegetables: More In-Depth Lean Techniques for Efficient Organic Production by Ben Hartman(2169)
Urban Farming by Thomas Fox(2147)
Backyard Woodland by Josh VanBrakle(1967)
